まずはこちらのGIFを御覧ください。
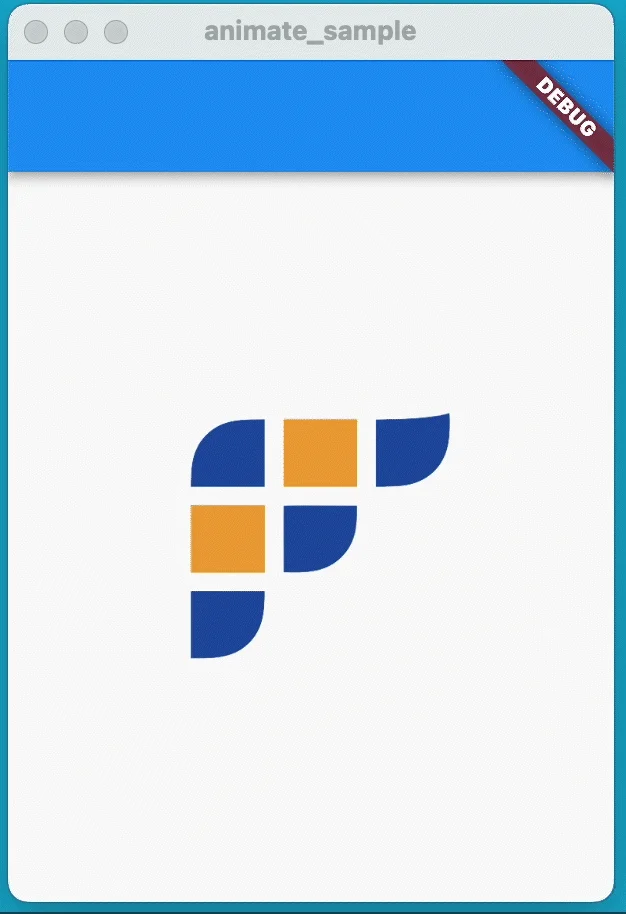
こちらのアニメーション実装部分のコードが以下です。
Image.asset('assets/flutter_univ_logo.png', width: 200)
    .animate(onPlay: (controller) => controller.repeat())
    .shimmer(delay: 4000.ms, duration: 1800.ms)
    .shake(hz: 4, curve: Curves.easeInOutCubic)
    .scale(
      begin: const Offset(1, 1),
      end: const Offset(1.1, 1.1),
      duration: 600.ms,
    )
    .then(delay: 600.ms)
    .scale(
      begin: const Offset(1, 1),
      end: const Offset(1 / 1.1, 1 / 1.1),
    )
サンプルコード全体
import 'package:flutter/material.dart';
import 'package:flutter_animate/flutter_animate.dart';

void main() {
  runApp(const MyApp());
}

class MyApp extends StatelessWidget {
  const MyApp({super.key});

  @override
  Widget build(BuildContext context) {
    return const MaterialApp(
      home: MyWidget(),
    );
  }
}

class MyWidget extends StatelessWidget {
  const MyWidget({super.key});

  @override
  Widget build(BuildContext context) {
    return Scaffold(
      appBar: AppBar(),
      body: Center(
        child: Image.asset('assets/flutter_univ_logo.png', width: 200)
            .animate(onPlay: (controller) => controller.repeat())
            .shimmer(delay: 4000.ms, duration: 1800.ms)
            .shake(hz: 4, curve: Curves.easeInOutCubic)
            .scale(
              begin: const Offset(1, 1),
              end: const Offset(1.1, 1.1),
              duration: 600.ms,
            )
            .then(delay: 600.ms)
            .scale(
              begin: const Offset(1, 1),
              end: const Offset(1 / 1.1, 1 / 1.1),
            ),
      ),
    );
  }
}shimmerやshake等アニメーションのエフェクトをウィジェットの後ろに書き連ねるだけで、
複雑に組み合わさったアニメーションができています。
この書き方を可能にするパッケージがflutter_animateパッケージです。
本記事ではこのflutter_animateパッケージの使い方を紹介します。
flutter_animateパッケージは、 Flutter公式のリファレンスアプリである、Wonderousでも使用されているパッケージです。
ぜひ本記事を読んで直感的なアニメーションの実装を体験してみてください!
flutter_animate の基本的な使い方
flutter_animateパッケージを使ってアニメーションを実装する方法について紹介します。
準備
まず準備として、パッケージのインストールと、 Dartファイルへのインポート文の追加を行います。
パッケージのインストール
CLI(macならターミナル)で、自分のプロジェクトのルートにて 以下のコマンドを実行しパッケージをインストールします。
flutter pub add flutter_animateパッケージのインポート
実装したいDartファイルの上部に以下のインポート文を追加し、 パッケージをインポートします。
import 'package:flutter_animate/flutter_animate.dart';実装
実装方法について解説します。
Animateウィジェットを使う方法- extension method を使用する方法
2つを紹介します。
Animate ウィジェットを使う方法
Animateウィジェットを使用したアニメーションの実装方法を解説します。
アニメーションを付与したいウィジェットを、Animateで囲み、
effectプロパティに付与したいアニメーション効果を追加します。
Animate(
  effects: const [ShimmerEffect()],
  child: Text('Hello World'),
),
extension method を使用する方法
extension method を使用する方法を紹介します。
flutter_animate パッケージをDart ファイルにimportをすると、
Widgetにanimateというextensionが追加され、
すべてのウィジェットでanimateというメソッドが使えるようになります。
このanimateを使うことでアニメーションの実装が可能です。
Text('Hello World').animate().shimmer()この記述で、Animateウィジェットを使用した方法と同様のアニメーションを実装できます。
基本的な使い方は以上です!
カスタマイズ方法
flutter_animateを使用したアニメーションのカスタマイズ方法を紹介します。
extension method を使用した方法を用いて紹介します。
アニメーション時間の設定
アニメーションの時間はエフェクトのdurationプロパティで設定できます。
Text('Hello World').animate().shimmer(duration: 500.ms),flutter_animateをimportすると、numに設定されたextensionを使用でき、
500.millisecondsや5.secondsと書くことで、
Durationとして利用することが可能になります。
アニメーションの繰り返し
アニメーションの繰り返しは、
animate のonPlayプロパティにて以下のようにして設定可能です。
Text('Hello World')
  .animate(
    onPlay: (controller) => controller.repeat(),
  )
  .shimmer()
アニメーションの重ね合わせ
複数のアニメーションを重ね合わせる方法を紹介します。 エフェクトのメソッドを組み合わせることで、アニメーションを重ね合わせることが可能です。
Image.asset('assets/flutter_univ_logo.png', width: 200)
  .animate(onPlay: (controller) => controller.repeat())
  .shimmer(duration: 1.seconds)
  .shake(duration: 1.seconds)
  .slideX(duration: 1.seconds),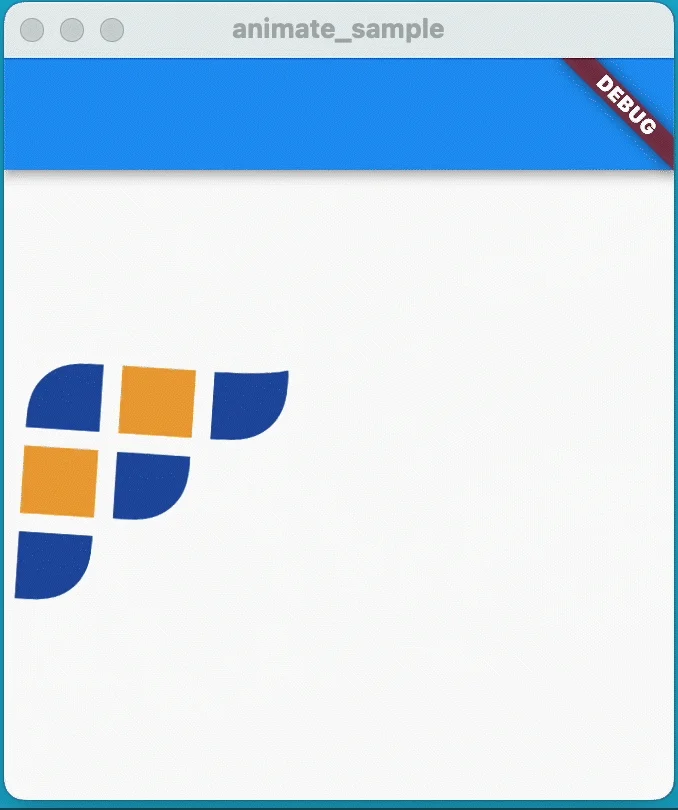
アニメーションの種類
flutter_animateに用意されているアニメーションエフェクトを紹介します。
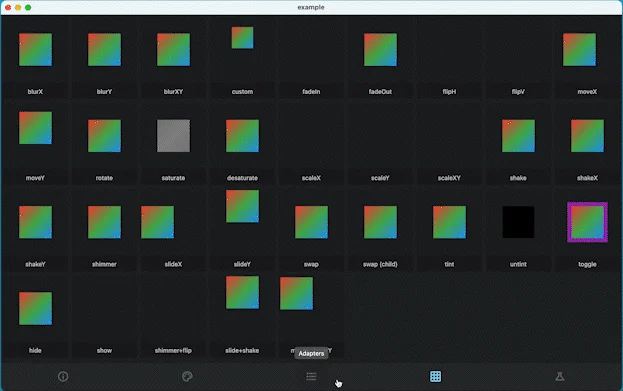
上記は公式のExampleアプリを実行して撮ったGIFでの紹介となります。
各アニメーションの実装コードに関しては、以下を御覧ください。
まとめ
本記事ではflutter_animateパッケージの基本的な使い方からカスタマイズ方法、 用意されているアニメーションエフェクトの紹介を行いました。
いかがだったでしょうか?
公式のReadmeにはさらに発展したカスタマイズ方法等が紹介されているので、 もっと詳しく知りたい場合はぜひ読んでみることをおすすめします。
アニメーションを実装する際の候補として、 ぜひflutter_animateを検討いただければと思います。
本記事があなたのアプリ開発の一助となれば幸いです。
Flutterを一緒に学んでみませんか? Flutter エンジニアに特化した学習コミュニティ、Flutter大学への入会は、 以下の画像リンクから。
編集後記(2022/12/26)
flutter_animate の紹介記事でした。
このパッケージを触るのが楽しくて、 Flutter大学ロゴにいろいろなアニメーションを付けて遊んでいました。
![]()
こちらのアニメーションはFlutter 大学のSlack のスタンプとして使用可能となっています。
好きな画像を好きなように動かせるのはとても面白いですね。
皆さんも是非flutter_animateパッケージを使用して、 さまざまなアニメーションを実装してみてください!
週刊Flutter大学では、Flutterに関する技術記事、Flutter大学についての紹介記事を投稿していきます。 記事の更新情報はFlutter大学Twitterにて告知します。
