本記事ではそんな疑問、要望にお答えします。
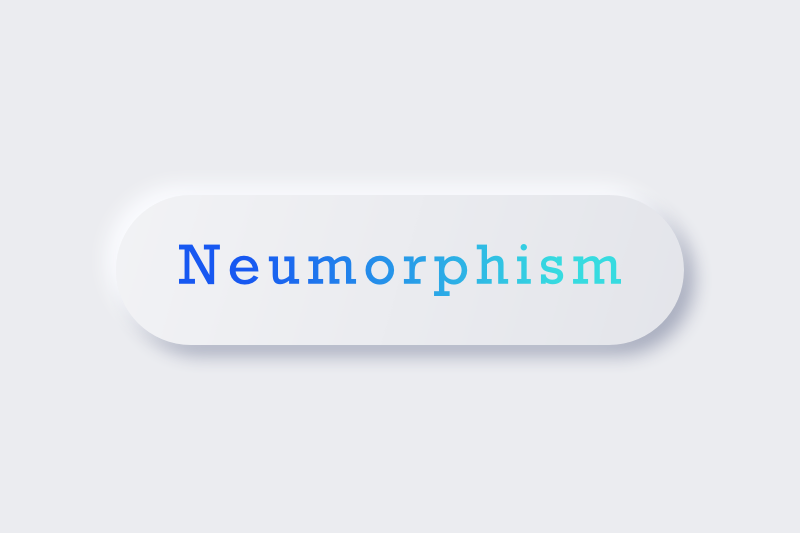
立体的で質感のあるデザインスタイル、ニューモーフィズムで UIを構築するのに有用なパッケージ、flutter_neumorphic の使い方を解説します。
以下のようなUI を実装することが簡単に可能です。
ぜひ本記事を読んで実装してみて下さい!
基本的な使い方

パッケージのインストール
CLI(macならターミナル)で、自分のプロジェクトのルートにて 以下のコマンドを実行しパッケージをインストールします。
flutter pub add flutter_neumorphicパッケージのインポート
UIを構築するDartファイルの上部に以下のインポート文を追加し、 パッケージをインポートします。
import 'package:flutter_neumorphic/flutter_neumorphic.dart';Widget の設定
flutter_neumorphicには様々なボタンやTextFieldなど、さまざまなWidgetが用意されています。
どんなWidgetが用意されているかについては、 以下のパッケージ紹介ページをご確認ください。
本記事ではflutter_neumorphicの基本Widget 、
Neumorphic Widgetについて紹介します。
使い方は簡単で、ニューモーフィズムを実装したいContainerやSizedBox を
Newmorpic Widgetで囲うだけです。
import 'package:flutter_neumorphic/flutter_neumorphic.dart';
void main() {
runApp(const MyApp());
}
class MyApp extends StatelessWidget {
const MyApp({super.key});
@override
Widget build(BuildContext context) {
return const MaterialApp(
home: MyWidget(),
);
}
}
class MyWidget extends StatelessWidget {
const MyWidget({super.key});
@override
Widget build(BuildContext context) {
return Scaffold(
backgroundColor: Colors.black12,
body: Center(
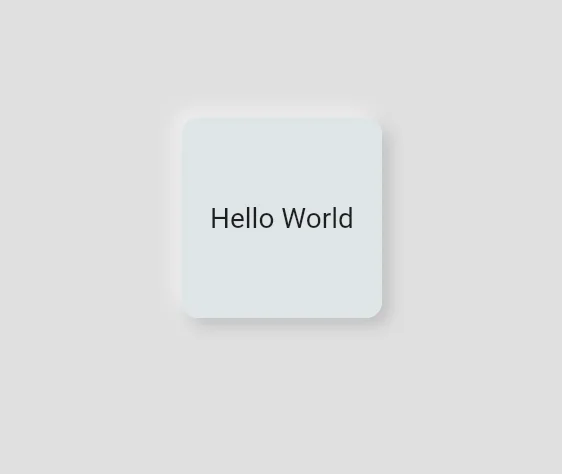
child: Neumorphic(
child: const SizedBox(
height: 100,
width: 100,
child: Center(
child: Text('Hello World'),
),
),
),
),
);
}
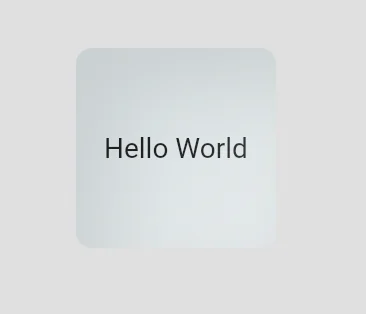
}色や深さ、光の当たり方向はstyleにNeumorphicStyleを
設定することによって調整することが可能です。
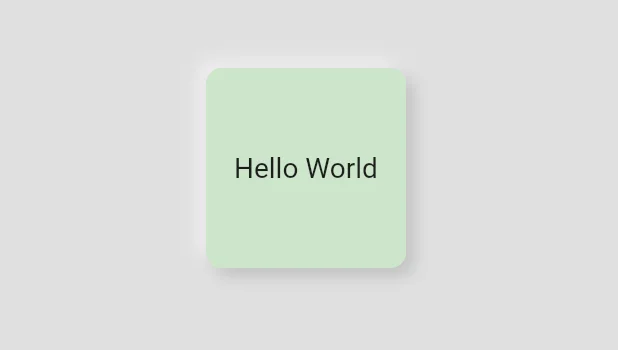
色
色の調製例のコードです。
NeumorphicStyle
Neumorphic(
          style: NeumorphicStyle(
            color: Colors.green[100],
          ),
          child: const SizedBox(
            height: 100,
            width: 100,
            child: Center(
              child: Text('Hello World'),
            ),
          ),
        ),
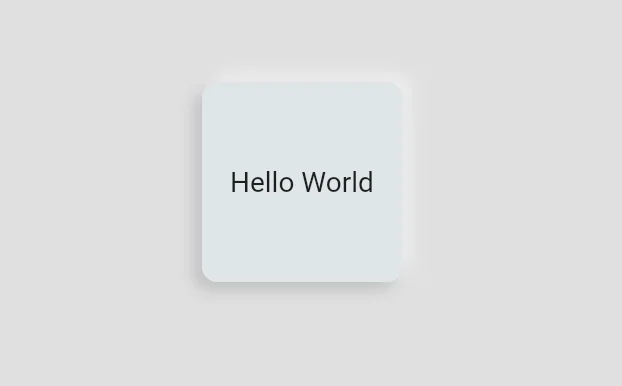
深さ
depth プロパティに-20 ~ 20の値を設定することで、 でっぱり具合(へこみ具合)を調整することができます。
以下は-20を設定した場合の例です。
Neumorphic(
          style: const NeumorphicStyle(
            depth: -20,
          ),
          child: const SizedBox(
            height: 100,
            width: 100,
            child: Center(
              child: Text('Hello World'),
            ),
          ),
        ),
      ),
光の方向
デフォルトは左上から光が当たっている形となっていますが、
この光の方向をlightSourceプロパティにLigthtSourceを設定することで
変更することが可能です。
以下の例では右上からに変更を行っています。
Neumorphic(
          style: const NeumorphicStyle(
            lightSource: LightSource.topRight,
          ),
          child: const SizedBox(
            height: 100,
            width: 100,
            child: Center(
              child: Text('Hello World'),
            ),
          ),
        ),
おまけ ニューモーフィズムなWidgetの作り方

そんな人向けに、ニューモーフィズムなWidgetの作り方を紹介します。
ポイントは影の付け方です。 光源が左上にあるとして、左上側は明るく、右下側は暗く影をつけると、 ニューモーフィズムに見えるWidgetとなります。
実装例は以下となります。
Container(
          height: 100,
          width: 100,
          decoration: BoxDecoration(
            color: Colors.grey[300],
            borderRadius: BorderRadius.circular(20),
            boxShadow: [
              //1
              BoxShadow(
                color: Colors.grey[500]!,
                blurRadius: 15,
                offset: const Offset(5, 5),
              ),
              //2
              const BoxShadow(
                color: Colors.white,
                blurRadius: 15,
                offset: Offset(-5, -5),
              ),
            ],
          ),
          child: const Center(
            child: Text('Hello World'),
          ),
        ),
//1
右下に影をつけている部分です。
offsetで右下にずらしています。
//2 左上に光が当たっている表現として明るい色を設定している部分です。 offsetで左上にずらし、whiteを設定しています。
このコードで以下のような見た目となります。
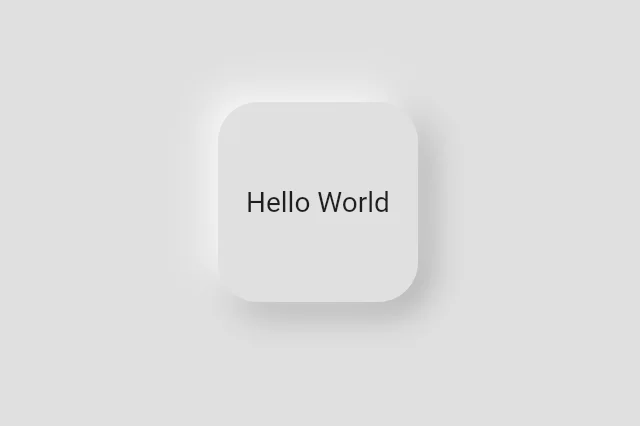
以上が、パッケージに依存すること無くニューモーフィズムを実装する方法でした!
まとめ

本記事では、ニューモーフィズムで UIを構築するのに有用なパッケージ、flutter_neumorphic の使い方を解説しました。
いかがだったでしょうか? ニューモーフィズムでUIを構築してみたくなりましたか?
本記事で紹介したように、簡単におしゃれなデザインを実装できるようになるため、 ぜひ使用を検討してみて下さい!
Flutterを一緒に学んでみませんか? Flutter エンジニアに特化した学習コミュニティ、Flutter大学への入会は、 以下の画像リンクから。
参考
編集後記(2022/7/1)
Flutterでニューモーフィズムを実装する方法についての記事でした。
そもそも、ニューモーフィズムとは?となる方がいらっしゃるかもしれません。
ニューモーフィズムは「new」と、同じく立体的な表現の「スキューモーフィズム」の合体による造語で、「スキューモーフィズム」をより現代的にしたもの、ということです。
参考:
このようなデザイン手法について学んでみるのも面白いかもしれませんね。
週刊Flutter大学では、Flutterに関する技術記事、Flutter大学についての紹介記事を投稿していきます。 記事の更新情報はFlutter大学Twitterにて告知します。
